


DIY Hanging Planter
- Kayla O'Brien

- Mar 24, 2020
- 2 min read
With spring upon us, I've been dying to make a DIY planter and get some pretty plants! We finished the whole thing within a couple hours and it was the perfect little project.
Supplies:
- (1) 1x12 pine
- (4) 1x6 MDF
- (2) 1x2 MDF
- Planter rings (We used 6 inch)
- Pots (6 inch)
-Paint
-Wood putty
-Nail gun
-Miter saw
-Circular saw
-Power drill
First, we cut the 1x12 board down to desired height. We did 48 inches.
Then we cut the 1x6 boards into 14 inch sections and used a miter saw to cut one end on each board at a 45 degree angle. Make sure you make half of the angled cuts for the left side and the other half for the right side.


Use a pencil or a chalk line to make a line down the center of the 1x12. Use this line as guidance to match up all your angled pieces to make the chevron pattern. Once all laid out, use a nail gun to nail pieces in to place.


After angled 1x6 pieces are nailed in place, flip the whole board over on saw horses and use a circular saw to cut off excess overhanging wood. It helps to make a track saw guide with a straight board and some clamps as show in the video below.
Now you're ready to add the trim. Cut the 1x2's into two 48 inch pieces (if you are using our same measurements) to trim the sides of the 1x12 and nail into place. Then measure the top and bottom of planter and cut remaining 1x2 accordingly to fit flush and again, nail in place.

Once trim in nailed in place, use wood putty to fill in nail holes to give a more finished look. Then make sure you thoroughly wipe down before painting.
Once the paint is dry, you can go ahead and attach the pot rings and the hanging hardware on the back of the planter using a power drill.


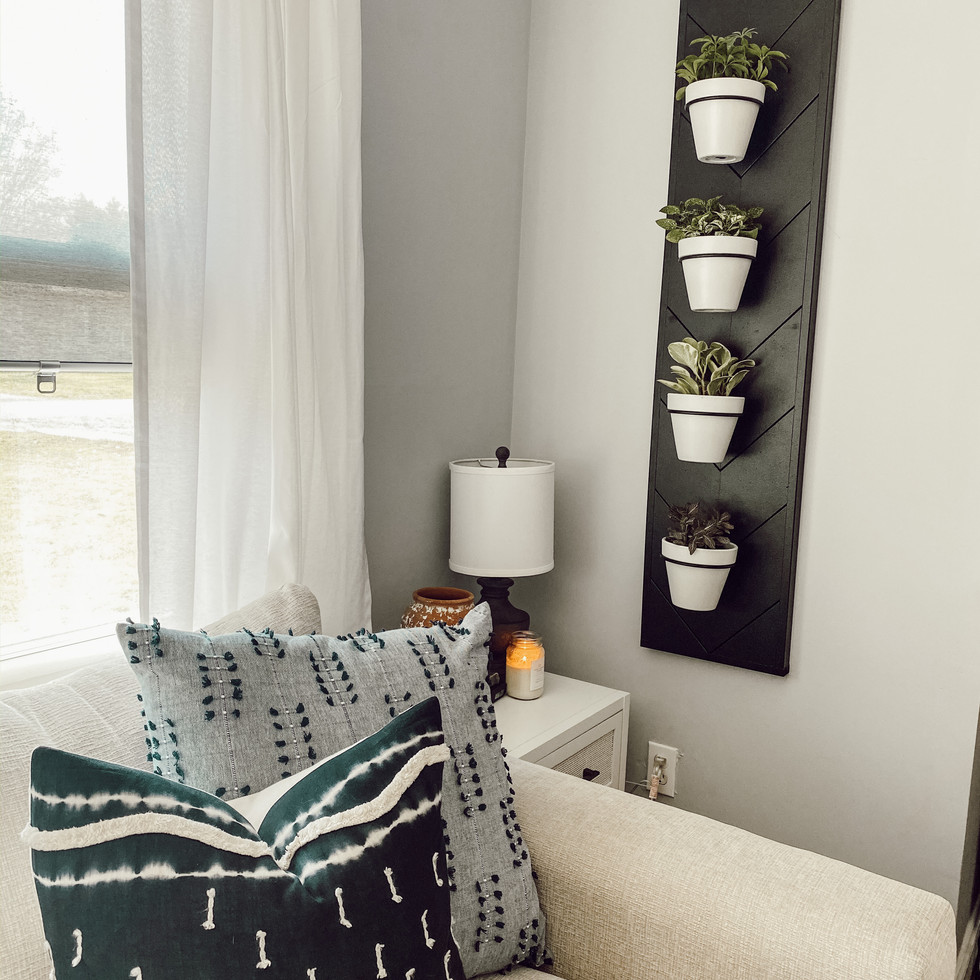
In order to be budget friendly, I used plain ole 6 inch terracotta pots from Walmart for $1.48 each and spray painted them an off white color. I also snagged all the cute plants from Home Depot for under $5 each.


Do a little potting and you're finished! We decided to hang out planter inside next to a window for sunlight. But you could also hang in your back yard, on your porch, etc.
Keep scrolling to see the finished look and see it in our home!


Comments